Exclusive Savings on Plumbing Services!
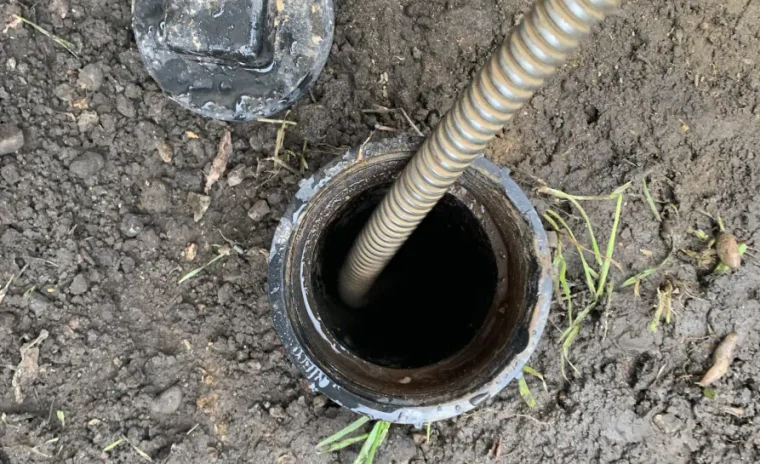
Identify the clog type and location
Before attempting any physical removal, take a few moments to assess the situation. Run the faucet briefly and observe how the water drains. A slow, steady trickle indicates a partial obstruction, while standing water that refuses to drain at all signals a complete blockage. Note whether multiple fixtures in your home are affected; if your toilet, shower, and sink all drain slowly at once, the issue likely lies deeper in your sewer line rather than the individual sink trap.
Check which sink is clogged. Kitchen sinks typically accumulate grease, food particles, and soap residue, while bathroom sinks collect hair, toothpaste, and cosmetic products. In Concord and throughout the Bay Area, hard water mineral deposits can also contribute to gradual buildup inside pipes over time, especially in older homes. Look under the sink at the P-trap (the curved section of pipe directly beneath the drain). If you see visible corrosion, leaks, or extremely old galvanized piping, the problem may require professional plumbing services to address safely. If the trap appears intact and only one fixture is affected, proceed to the next step with confidence that a DIY solution is appropriate.
Clear surface debris and use the plunger method
Start by removing the sink stopper or strainer and clearing away any visible debris from the drain opening. Hair clumps, food scraps, and soap scum often accumulate just below the surface and can be lifted out with a gloved hand or needle-nose pliers. Once the opening is clear, fill the sink basin with two to three inches of water; this creates the hydraulic seal necessary for effective plunging.
Use a standard cup plunger (the type with a flat bottom, not a flange plunger designed for toilets). Position the plunger directly over the drain opening so it forms an airtight seal. If your sink has an overflow hole near the rim, plug it tightly with a wet rag to prevent air from escaping and weakening suction. Push down firmly but steadily, then pull up sharply to create alternating pressure and suction. Repeat this motion ten to fifteen times in quick succession. Many homeowners make the mistake of plunging too gently or too slowly; the goal is to generate enough force to dislodge the blockage without damaging the pipes.
After plunging, run hot water for thirty seconds to test drainage. If water flows freely, the clog is resolved. If the sink still drains slowly, move to the next method. For persistent clogs that resist plunging, professional drain cleaning services can identify whether the obstruction is deeper in the line or caused by structural issues like pipe collapse or root intrusion.
Apply a natural drain treatment
If plunging does not fully resolve the issue, a natural enzymatic treatment can break down organic matter without the harsh chemicals found in commercial drain cleaners. Pour one-half cup of baking soda directly into the drain, followed immediately by one cup of white vinegar. The mixture will fizz and bubble as the chemical reaction begins; this is normal and indicates the solution is working to dissolve grease, soap scum, and minor obstructions.
Cover the drain opening with a wet cloth or stopper to contain the reaction within the pipe, allowing the fizzing action to work against the clog rather than escaping into the air. Let the mixture sit undisturbed for at least thirty minutes; for stubborn clogs, leaving it overnight can yield better results. After the waiting period, flush the drain thoroughly with a full kettle of boiling water (approximately two quarts). The hot water helps rinse away the loosened debris and any remaining baking soda residue.
Avoid using commercial chemical drain cleaners, especially if you have older pipes or have already attempted other methods. These products generate extreme heat and can damage PVC piping, corrode metal traps, and create hazardous conditions if mixed with other substances. In the Concord area, many homes built before 1980 have a mix of pipe materials that react unpredictably to harsh chemicals. If natural treatments and plunging fail to clear the drain after two attempts, it is safer and more cost-effective to contact licensed plumbing contractors than to risk pipe damage with aggressive chemicals.
Remove and inspect the P-trap
If the drain still does not flow freely after the previous steps, the clog is likely lodged in the P-trap itself. This curved section of pipe is designed to hold a small amount of water to prevent sewer gases from entering your home, but it also traps heavier debris. Fortunately, most P-traps are accessible and can be removed without specialized tools. Before starting, place a bucket or shallow pan directly beneath the trap to catch the water and debris that will spill out when you loosen the connections.
Most modern P-traps are secured with slip-joint nuts that can be turned by hand or with adjustable pliers. Turn the nuts counterclockwise to loosen them, supporting the trap with your other hand to prevent it from twisting or stressing the attached pipes. Once both nuts are free, carefully lower the trap and pour its contents into the bucket. Inspect the inside of the trap for accumulated hair, grease, or foreign objects. Use a bottle brush or old toothbrush to scrub away any residue clinging to the pipe walls.
Check the trap for cracks, corrosion, or worn washers while it is removed. If the trap shows signs of damage, replace it before reassembling; replacement traps are inexpensive and widely available at hardware stores. Rinse the trap thoroughly with hot water, then reattach it by hand-tightening the slip-joint nuts. Avoid overtightening, as this can crack the plastic threads or crush the washers. Run water and check for leaks. If you encounter galvanized pipes, extensive corrosion, or leaks that persist after reassembly, this is the appropriate time to schedule professional plumbing services. Licensed plumbing contractors can assess whether a simple washer replacement will suffice or if a section of pipe needs to be upgraded to current code standards, particularly in older Bay Area homes where mixed plumbing systems are common.
Recognize when professional drain cleaning is needed
If the drain still does not flow freely after the previous steps, the clog is likely lodged in the P-trap itself. This curved section of pipe is designed to hold a small amount of water to prevent sewer gases from entering your home, but it also becomes a common collection point for grease, hair, and solid debris. Before starting, place a bucket or shallow pan directly beneath the P-trap to catch the standing water and debris that will spill out when you loosen the connections.
Use a pair of adjustable pliers or a pipe wrench to carefully loosen the slip nuts on both ends of the P-trap. Most modern traps feature hand-tightenable plastic nuts that can be removed without tools, but older metal fittings may require gentle leverage. Once both nuts are loose, pull the trap downward and away from the tailpiece and drainpipe. Inspect the interior for accumulated buildup. Rinse the trap thoroughly in a utility sink or outdoor hose, removing all visible residue.
Before reassembling, check the rubber gaskets inside each slip nut for cracks or deterioration. Damaged gaskets are a common source of leaks and should be replaced. Slide the trap back into position, hand-tighten the nuts, then give each a quarter-turn with pliers to ensure a watertight seal. Run water through the drain and monitor the connections closely for any drips. This method resolves the majority of stubborn clogs in residential sinks, particularly in kitchens where grease and food particles tend to accumulate over time.